
How to Frame a Wall: A Step-by-Step Guide for Beginners
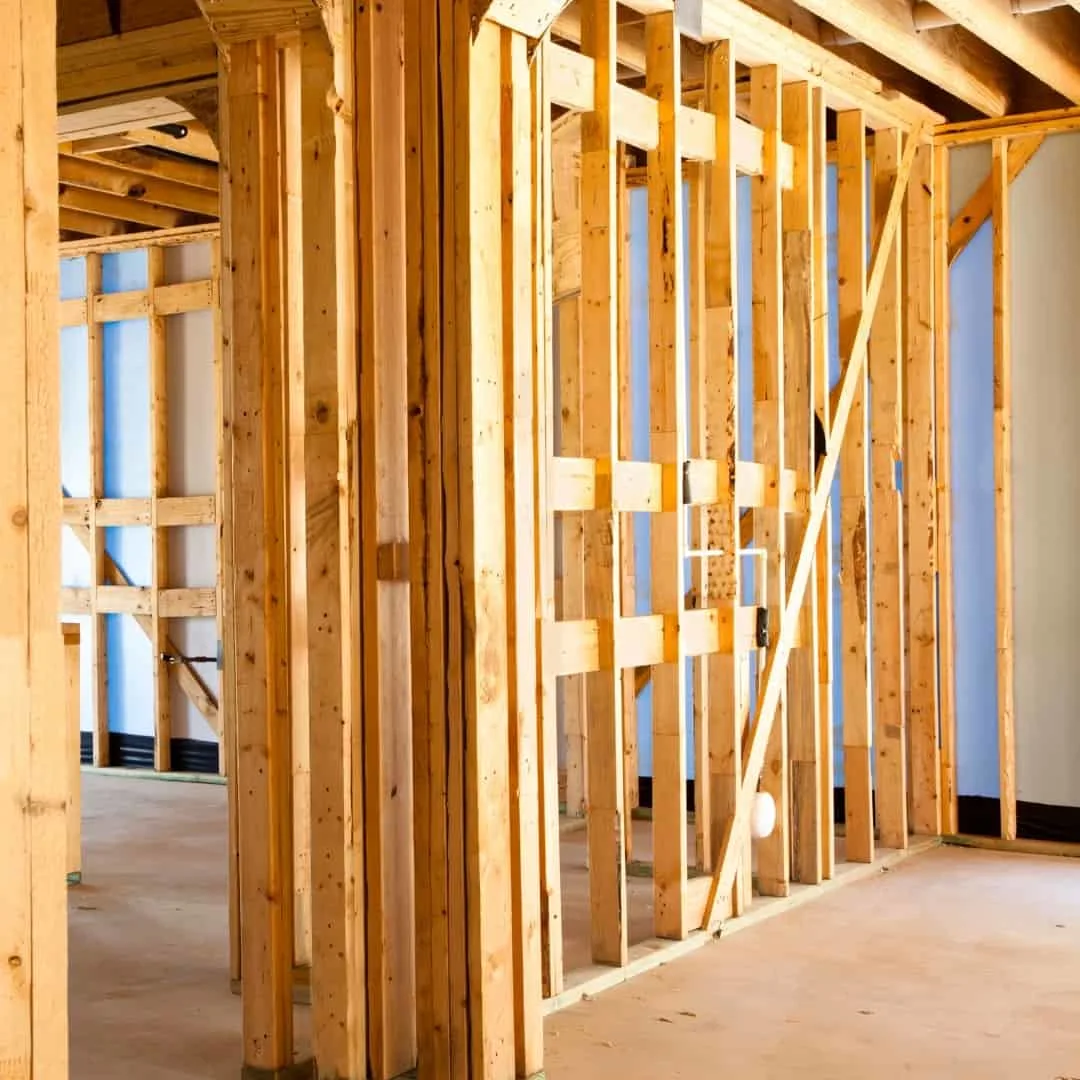
Building a wall may sound intimidating, but most interior walls are straightforward framing projects that homeowners can successfully complete with basic tools and patience.
⚠️ Important first note
This guide is for non-load-bearing interior walls only (like adding a room divider or closet wall).
If the wall supports the roof, floor, or another level — stop and consult a professional.
What You’ll Be Building (Big Picture)
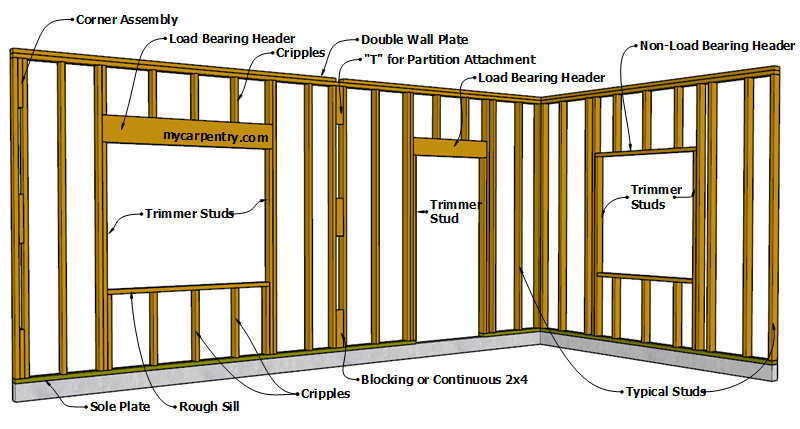
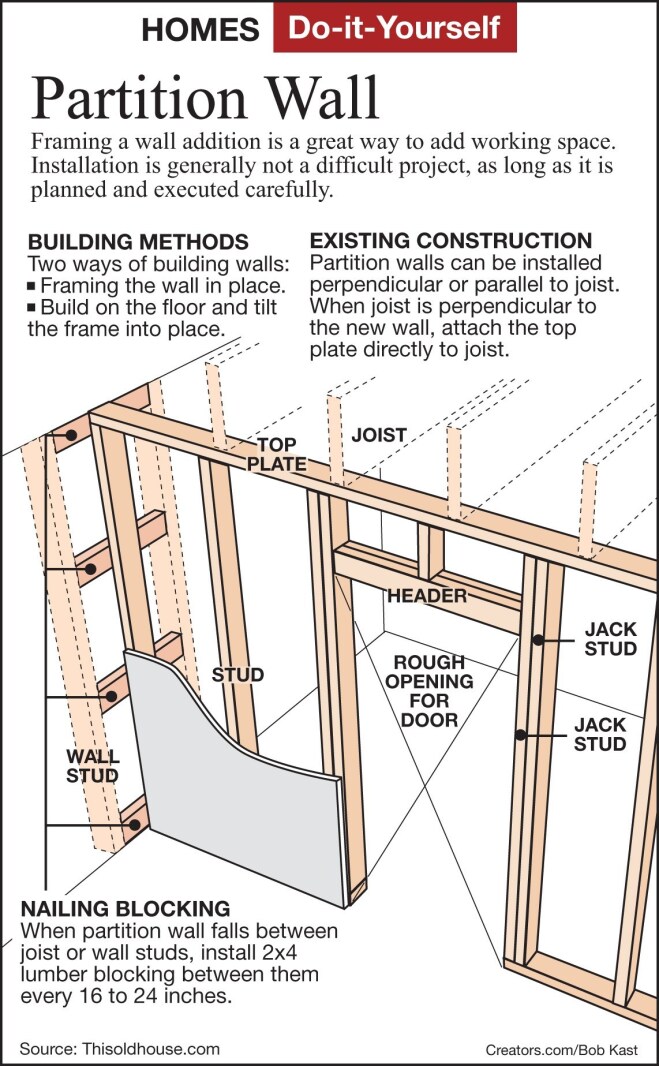
A wall is made of:
- Bottom plate (attached to the floor)
- Top plate (attached to the ceiling)
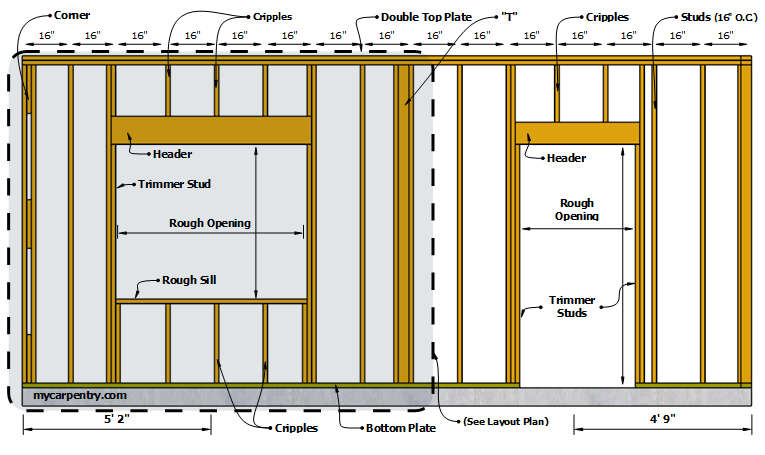
- Vertical studs (usually every 16 inches)
- Drywall on each side (optional step)

Tools & Materials You’ll Need
Tools (basic homeowner tools)
- Tape measure
- Pencil
- Level (2–4 ft)
- Drill or impact driver
- Hammer
- Stud finder
- Safety glasses
Materials
- 2×4 lumber (studs + plates)
- Wood screws or framing nails
- Construction adhesive (optional but helpful)
- Drywall (later step)
- Drywall screws
💡 Tip: Buy extra lumber. Slight warping is normal.
Step 1: Decide Where the Wall Goes
Mark the wall location clearly before building anything.


How to do it:
- Measure and mark the wall line on the floor
- Use a chalk line or straight edge
- Transfer those marks straight up to the ceiling using a level
✅ If the floor and ceiling lines don’t line up perfectly, fix this now.
Step 2: Cut the Top and Bottom Plates
The plates are the horizontal boards that hold everything together.
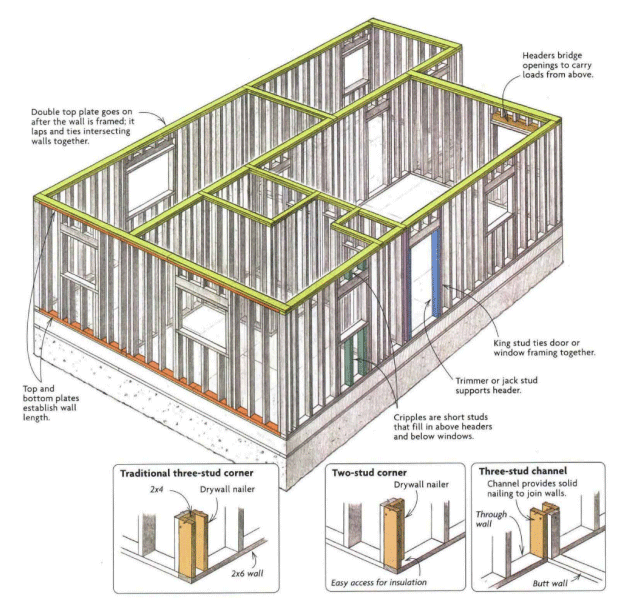
- Cut two 2×4s the exact wall length
- One goes on the floor (bottom plate)
- One goes on the ceiling (top plate)
Step 3: Attach the Bottom Plate to the Floor
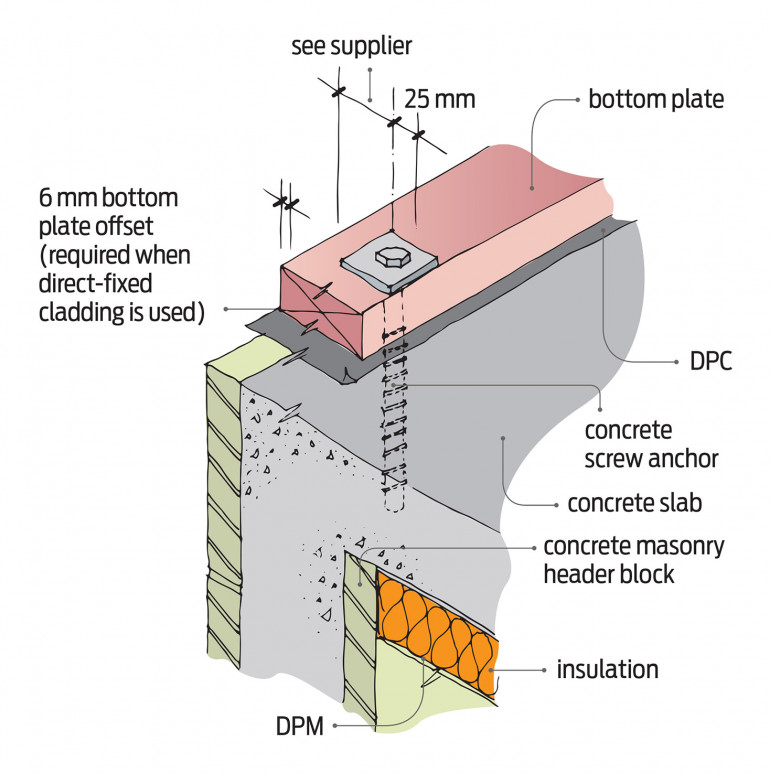

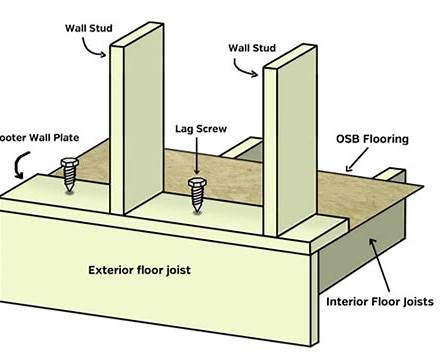
Fastening method depends on your floor:
- Wood subfloor: wood screws or framing nails
- Concrete slab: masonry screws or anchors
Fasten every 16–24 inches.
Step 4: Attach the Top Plate to the Ceiling

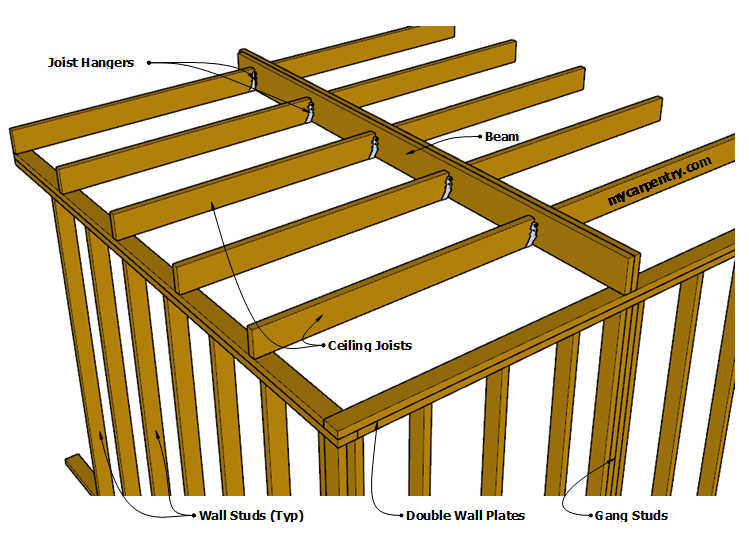
- Use a stud finder to locate ceiling joists
- Secure the top plate into joists
- This gives the wall strength and keeps it straight
⚠️ Do not screw only into drywall.
Step 5: Measure and Cut the Studs
Studs are the vertical boards between the plates.
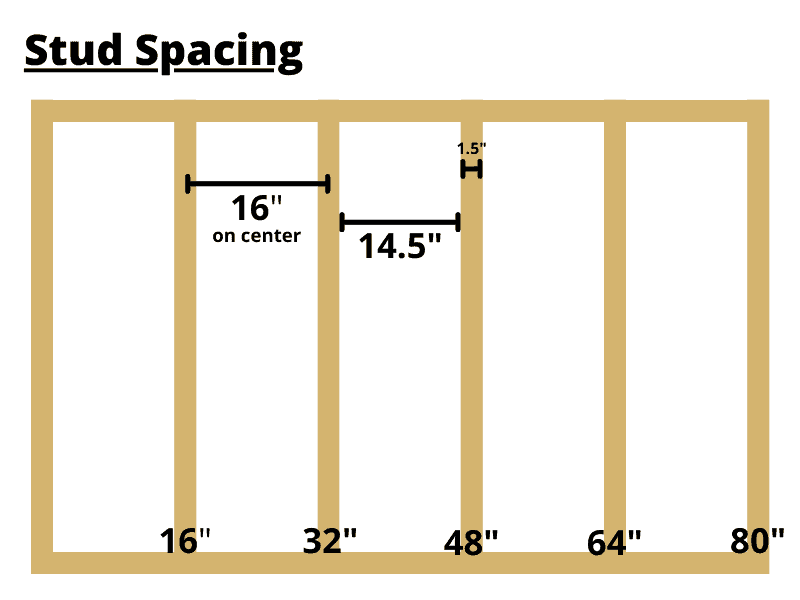


Standard spacing:
- Studs every 16 inches on center
How to measure:
- Measure from bottom plate to top plate
- Subtract about ⅛ inch (helps with fitting)
- Cut all studs to the same length
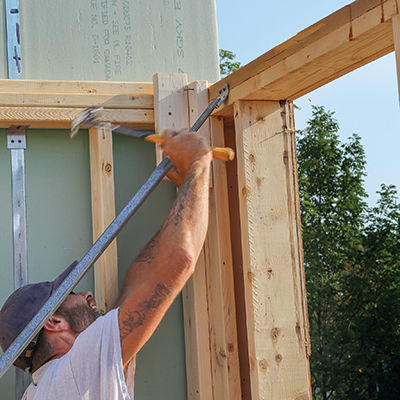
Step 6: Install the Studs

Steps:
- Place the stud between plates
- Check with a level (must be vertical)
- Screw or nail through the plates into the stud
Repeat every 16 inches.
💡 Start with the end studs, then fill the middle.
Step 7: Add Extra Studs Where Needed
Some areas need reinforcement:


Add studs for:
- Door openings
- Heavy shelves or TVs
- Electrical boxes
Even if you don’t install electrical now, it’s smart to plan ahead.
Step 8: Check for Straightness
Before covering the wall:


- Run a level across multiple studs
- Look down the wall edge (like sighting a board)
- Fix any bowed or twisted studs now
This saves major drywall headaches later.
Step 9: (Optional) Add Drywall
Once framing is solid, you’re ready for drywall.


- Hang drywall vertically or horizontally
- Screw into studs every 12–16 inches
- Tape, mud, sand, then paint
Common Beginner Mistakes (Avoid These)
❌ Not checking if wall is load-bearing
❌ Forgetting to anchor into joists
❌ Uneven stud spacing
❌ Crooked studs
❌ Rushing drywall before checking framing
Final Thoughts
If you can:
- Measure accurately
- Use a drill
- Take your time
You can build a wall.
Start small, work carefully, and remember — framing doesn’t need to be perfect, just straight, square, and secure.
Happy building!

Leave a comment